


Damnatus
- a Warhammer 40.000 fan movie -
|
|
|
|
|
|
|
|
|
|
|
|
|
|
|
|
|
|
|
|
|
|
|
|
 |
|
- a concept for an advertisment -
|
It was mid August 2003 when my pet-project "Orc" went to a sudden halt. It was that kind of full stop when you have just finished weighting the leg muscles into working condition and orbit around the object to review the work. Then you notice something odd. You close in on the hands. You notice the fingers are off, a relaxed geometry applied to a spread out animation skeleton. Let´s put it like this: I didn´t want to do it all over again, and went to do some stuff with particles.
Also around that time I made the monthly check on the former fellow students. One of them hinted me on a Warhammer 40K Movie being made by some fans, knowing I had a couple of miniatures.
The movie was called "Damnatus" and told the story of some human pawns in a galactic game of chess between the Eldar, an Inquisitor and a Chaos Cult worshipping Tzeentch, the Lord of Change.
I jumped at the opportunity to work with less hobbyist footage and was eager to assist in the creation of the epic universe from the tabletop game. Unfortunately, when I joined the team on the 22th of August 2003, I didn´t know that most of the footage had already been shot. So, there was little in the way of supervising FX-Shots, Set-Photography, taking measurements and Textures.
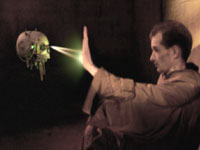
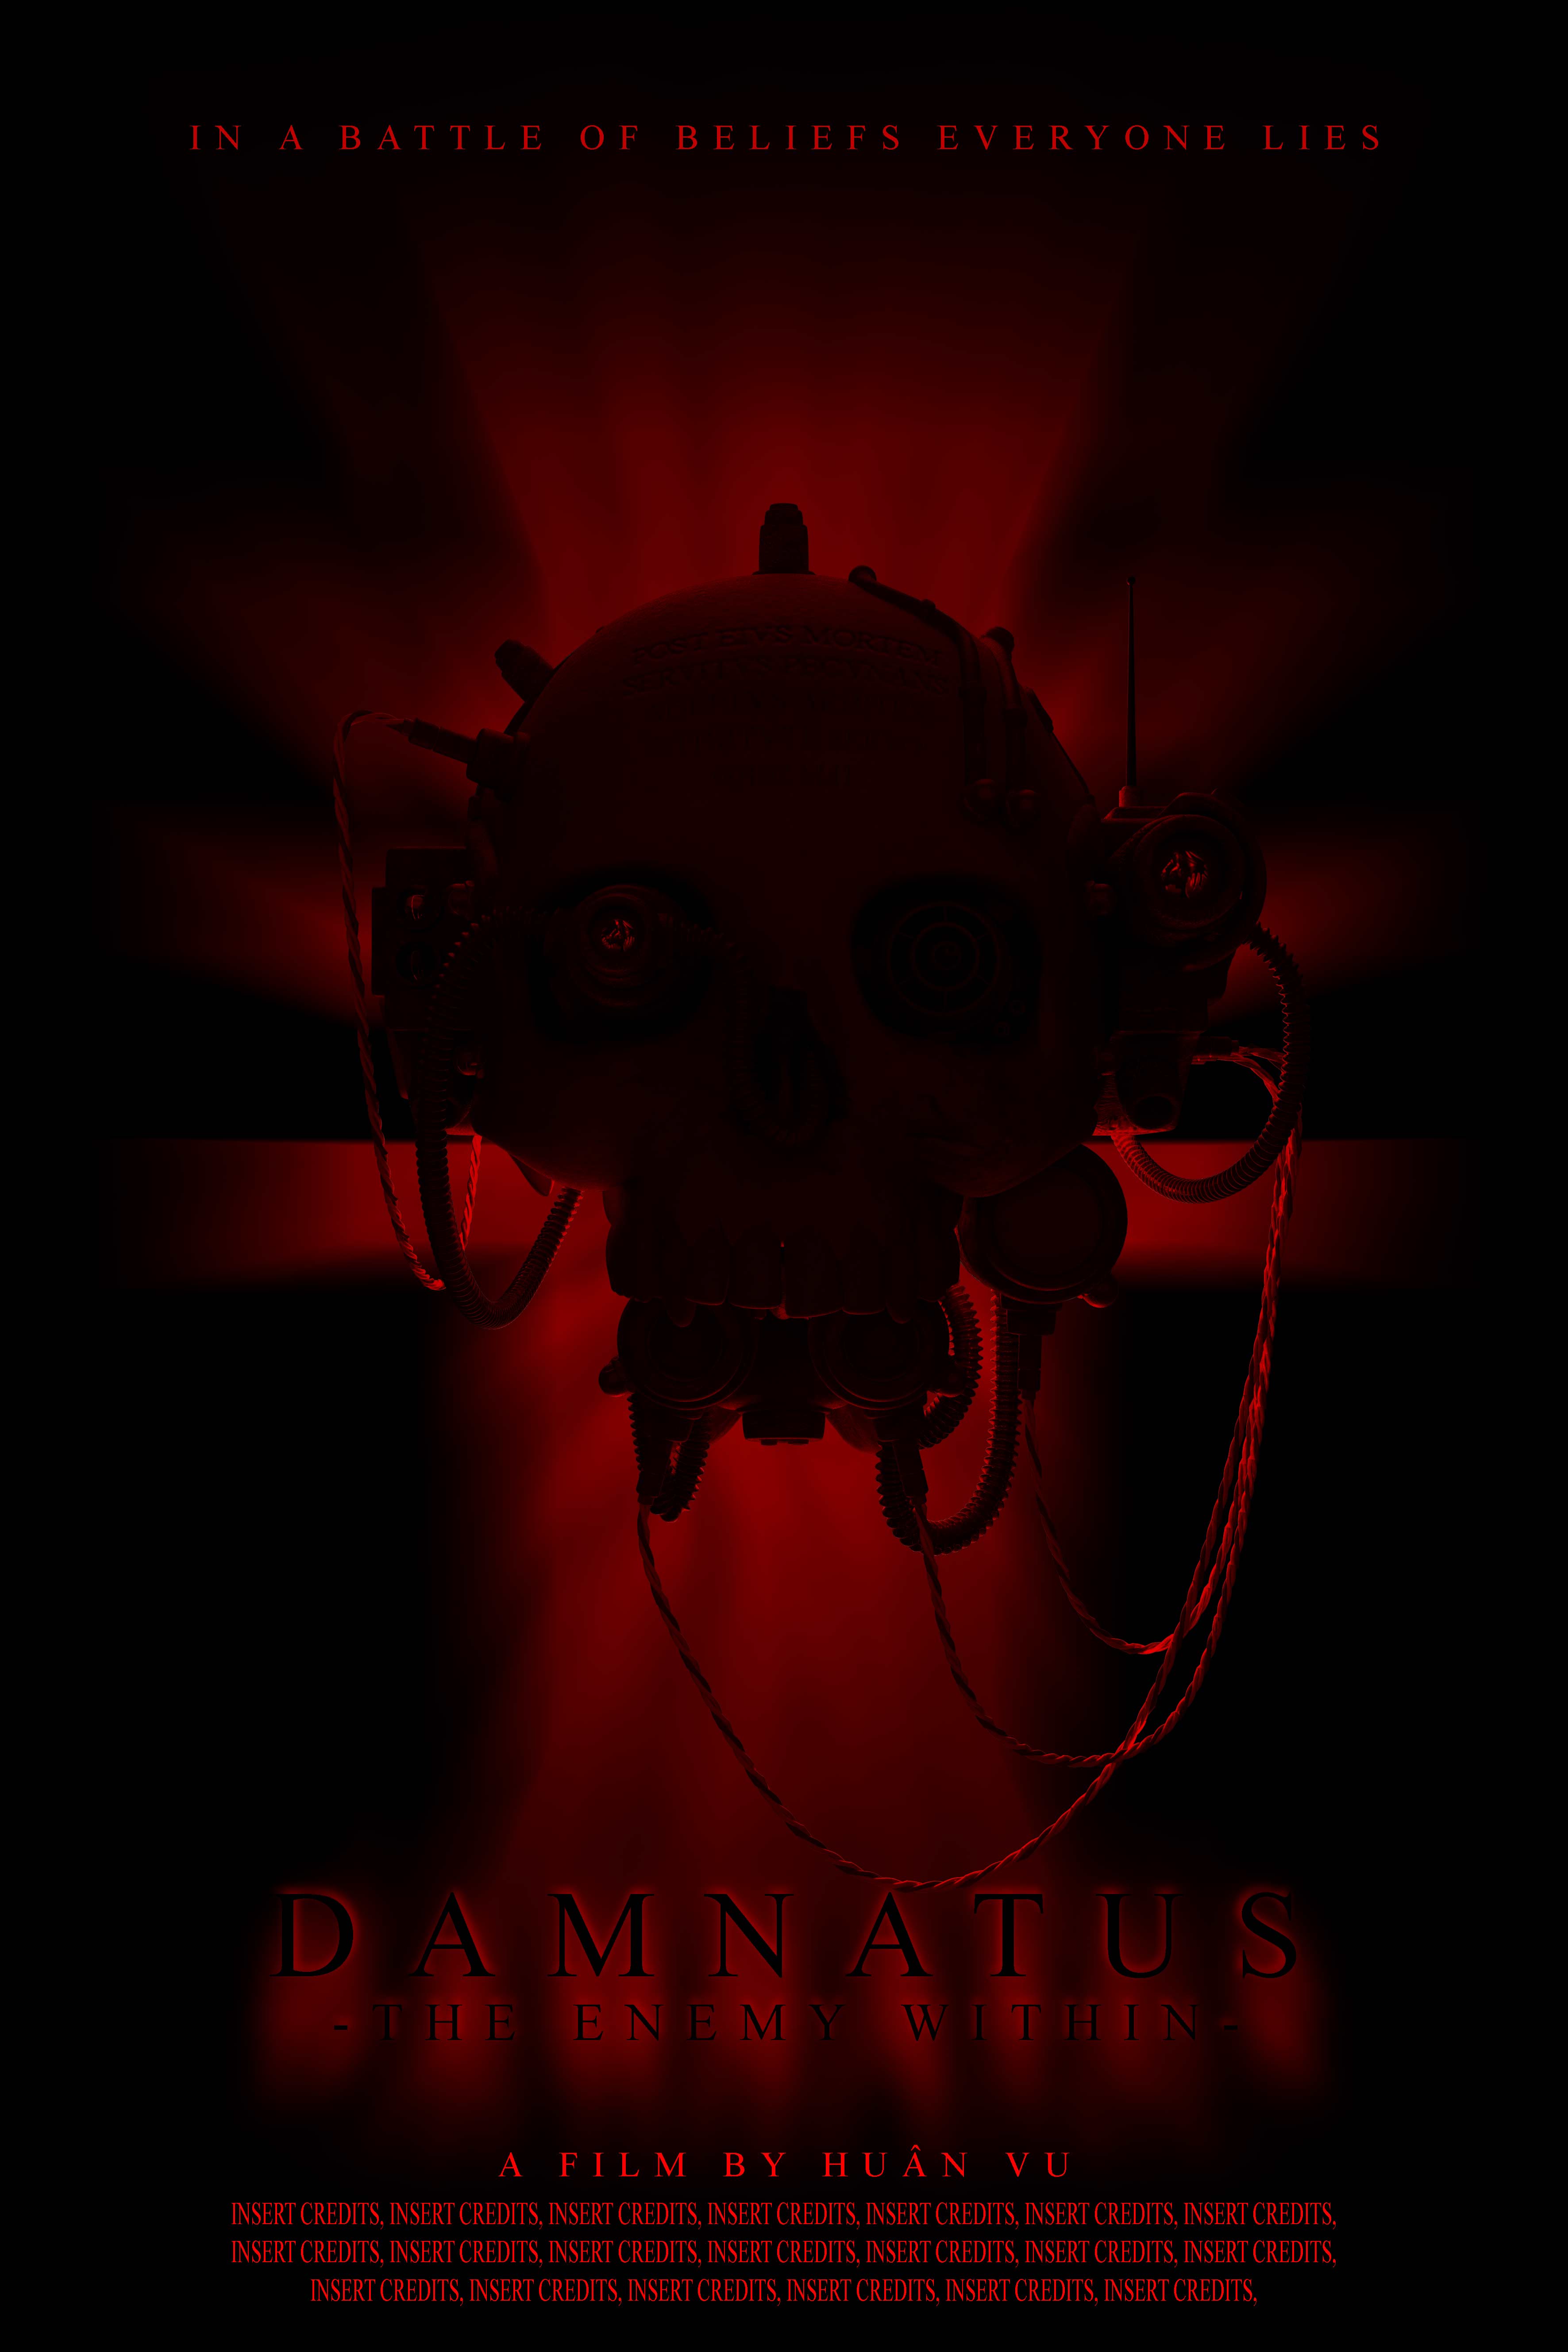
The movie was ambitious enough. Shapeshifters, demons, servo-skulls, a full-CG introduction and lots of action with all sorts of weaponry. I was casted for the scenes with CG/actor interaction, most prominently a scene with a servo-skull and some cases of daemonic possession.
go the the actual movie homepage
Scene 10: never judge a book by it´s cover
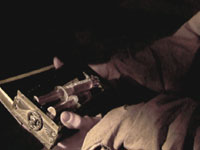
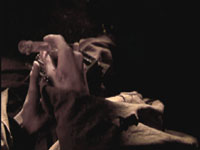
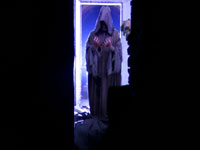
The premier scene was "010", a scene from the beginning of the movie, where a secondary character hides away in a remote branch of a hive city, takes out a syringe with "polymorphine", a drug used by certain assassins to trigger the ability to shapeshit and is interrupted by a servo-skull. The servo-skull, an autonomous surveillance-drone made from the remains of a dedicated individual, scans the assassins palm and is reprogrammed to follow him from now on. Then the man continues and injects the drug, undergoing the painful transformation. The new person and the drone leave the hideaway.
Originally, the drone just flew away, but then it was decided to incorporate more of these drones, so it´s not just a one-spook trick. Even more originally, the drone was a practical model lit on set, but it was that bright that it looked like a lit latern.
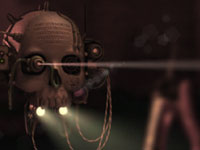
There was no given design for the skull. The design-review-redo loop took over a month to complete. There were versions with claws, versions with tentacles. In the end, it just had an array of spotlighs, a camera pod, a rangefinder/scanner-eye and a set of status lights, rounded up with lots of dangling cables, tubes and plugs. The modelling took the least of the time, of course. It was mainly the dynamics-setup, the displacement mapping (and discarding) and the texturing (that´s the unwrapping of the mesh). Of course, I started from the skull I did for my canceled "ghoststory" project, but that one had just a cylindrical projection around the x-axis that wrapped where the ears would be. That had to be redone, as the temple was uncovered in the first designs.
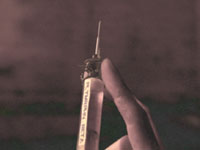
Needles and Pins
The other real timekiller was the syringe. It was blurred, it was moving and it didn´t have a needle. My first bloody nose from matchmoving. No tool would work, nobody knew the camera properties...and, of course, the dominant color in the images was deep black. The needle was a trivial piece of work, some revolved objects, some detail, a transparent cylinder filled with particles. The particles were only used in one scene, the close-up, and then the 3D-movement was neglectable, so a 2D-pinning and a static rendering did the trick.
But the other sequences where the syringe is taken out of the
box were tricky. And the interlaced footage started a discussion again about
de-interlacing versus discarding one field or the other. And the camera spooked
me when I analyzed the fields: It seemed the camera had recorded with 25 p,
but hald the vertical resolution. The lower field of the first and the upper
field of the second image were, apart from the 1-pixel-offset and recompression)
identical. Needless to say, I was about to discard anything I ever learned about
TV-signals. But then I just discarded the upper fields and was happy.
When the interlace-problem was gone, the motion blur became a problem again.
I tried to get it all done within the 3D application but failed miserably, as
the length of the motion blur is not supposed to be animateable. Normally this
might not be an issue, but the motion blur depends on the brightness of an object
as much as on it´s movement and the shutter angle. And the brightness
might change (but it not computed from the final image correctly). Even more
important, the blur length is based on the movement between the frames. But
the wireframes show the postion at the beginning or the end of the frame (another
issue to split hairs about), meaning the rendered image is off-set by half a
frame on the timeline. Also, I matchmoved a disc to fit the business end of
the syringe, only caring about right fit, not necessarily correct movement and
acceleration. Of course, the movement was keyframed every frame, so the motion
blur changed strength and length in a ratcher chaotic fashion. The answer was
as simple as obvious: Why do 2D tricks in 3D ? So it all was done in compositing.
It´s still slightly off, but then I signed on for just a needle, not half
a syringe.
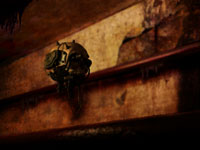
The Servo-Skull
The animation of the skull was laughingly trivial. Or so I thought. Of course, it´s very easy to do in an all-CG-shot, but to get the reaction of the actor right, I had to abandon any more sophisticated approach and stay close to the dangling latern they had used on the set. I the other shots of the skull, it´s a lot easier: The skull bounces vertically on it´s antigrav-field and glides horizontally by short bursts of acceleration and then slowing down, much like a billiard ball.
The integration of the final skull was rather easy. After all, it just floats around. More tricky was the rendering of the spotlights so the reflections inside looked good and didn´t flicker. The base lighting pass was rendered with final gathering and the plate mapped to the side of an encompassing sphere. But then there were several passes with individual spotlights on top of that, just to be able to tweak it in the compositing. Another personal premiere was the use of a depth-channel. Of course, I first tried to use the 32-bit-float-images rendered alongside the RGB files. Bad idea, I just didn´t find a program to use that data. Instead, an output-shader was used and rendered to mask a "blur" adjustment layer.
As in any scene with different camera positions, lighting continuity was virtually nonsense and only applied to the base pass. There was also the glow emitted by the scanned ID-tatoo, all as an afterthought. The scanner-beam was originally a AFX-animation stretched and tracked to the skull, but I abandoned that for a set of 4 spotlight aimed at a locator and rotating about wildly. That layer was used 4 times, each with one frame offset and increased transparency.
Standing out in the scene is the Close-Up Shot of the skull during scanning. It´s a moving camera and all 3D of course. It was added as another afterthought when each scene (with practically nothing going on in the footage) was encumbered by more and more meaning. And the shot of the guy (ifting it´s hand, getting scanned and watching the drone disappear) was assembled from different takes, requiring an insert. So, in order to hint on the overriding importance of the scanned subject and the processing done by the skull, I took a picture of my own hand, retouched it and put it in front of the skull so the inquisitorial icon was noticeable. The fading glow was synced to the final blinking of the status lights (at least it developed a kind of rythm in the preview-loop), all spiced up with some depth-of-field blur.
To sum it up, the skull-shots were nightmarish. The skull itself had 4 to 12 passes (each volumetric was rendered individually, as were the blinking lights, reflections, spotlight-interiors lit and unlit,...). The number of passes and the length of the shots alone made for over 6 GB of images rendered for just the side-shot of the scanning. For a single PC, that´s still a lot of data piling up. But at least I could use the rendering breaks to do some real-world modelling, write scripts and identify the most annoying fans in my PC. All in all the complete scene 10 (syringe, skull and scan) took over a month to render.
Later in the project the Skull got a more important part and became a constant companion to the Shapeshifter, acting as his eyes and ears, spying on the heroes and scouting ahead of it´s master. This required some more lighting and rendering, additional matchmoving and rendering time. Fortunately the new sequences didn´t require that many effect lights and passes, so the skull could be optimized to render relatively quickly in just one pass, sometimes a shadow pass. Some of the scenes are described later.
Even though I am still rather unhappy with the model (it´s just not that well suited to close ups), some people on the team demanded a wallpaper. You can it in 1600x1200 here.
Shapeshifting
As mentioned above, I joined the team when most of the footage was already shot. That included the takes for the shapeshifting-effect. There were 2 dolly-moves moving in on the eye of the actors. In the preview these were just morphed when convenient.
My approach was different, but required some matchmoving (again). I modeled a primitive head and matched the camera movement of take 1 to it. That camera was duplicated (just for safety) and used to project take 1 on it. The same was done with the second take. Added to that were several other texture projections so I could use a gradient mapped with some rendered textures and the footage into a transition creeping over the actor´s face. Unfortunately, this means there is no need for a dolly-out.
I´d have preferred on-set-pictures of the actors and a complete camera mapped transition between the faces with a different camera move (maybe a 90° flyaround), but then I had to do with the footage available. However the footage couldn´t be reshot and thus it had to do.
In the end it proved to be suprisingly effective to just match the movement of the 2D clips in compositing and just blend, the transition improved by some additional jutter. As the blend was slow enough, it´s hardly noticeable if not knowing where to look for giveaways. It sure beats any 3D matchmoving mayhem that never ever matches up successfully.
Sz19_04: my spying eye sees something and its...darker
This is a good example for the shots in Damnatus. It was supreme footage, a slow pan that tracked like a charm and almost no distortion. From this, in the 3D application, mattes were rendered. For the windows, two frames were edited in 2D to create a transparency map, this was then mapped to window planes and rendered. In a similar fashion a difference layer was rendered just from two images that had the character off-screen. The hive architecture was (due to long rendering times) also rendered twice and re-applied to two planes. Now, only the skull had to be animated and the scene to be assembled in compositing. Voilá, another finished scene that only rendered for about a day total for all the passes.
Unfortunately, the whole sequence this shot was in was later redesigned as in a "night" setting deep in the underhive. No heed payed to the high-noon sun and the superbright exterior or the fact that the red and blue robe of the Techadept walking through the rather brown scene made readjusting the image that completely a real drag.
Scene 26: Library
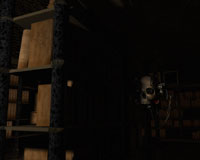
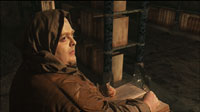
One shot for the skull mentioned the skull emerging from the shadows cast by bookshelves in a library. But there was no library, it had to be added to the three camera angles in the shot. Unfortunately the brownish-greenish robe and the brownish-greenish wall didn´t separate all too well, requiring...right, hand-pulled masks.
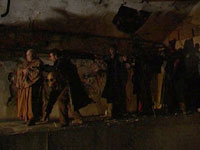
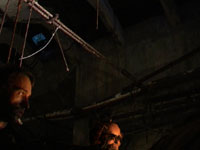
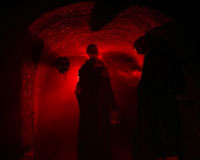
Scene 32 - 34:
The first "waypoint" so to speak for the heroes is the meeting with the agent Lechias. He leads them to his hideout in the ruinous underhive and briefs them about the cult before sending them on via the tunnel network. All the time they are, of course, accompanied by the Servoskull that hovers around, screens their advance and monitors their leave. The footage I got was horrible. The "approach" scene 32 was shot under hazardous conditions and shaky, objects passed through the foreground and was all untrackable, the pan into the hole in the roof would have required "Gladiator" technology. Thus 2D tracking with a matchmoved 3D camera move had to do. Once into the hideout 2D tracking was sufficient. The final shot lacked any backplate footage and thus the set was reconstructed from the 200x150 pixels resolution previews of wholely different camera angles.
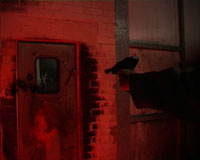
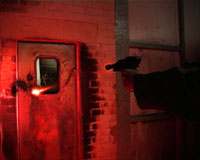
Scene 57: Door of the Tentacle
Scene 57 has the heores splitting up by daemonic intervention. One man succumbs to the voices, another goes back to fetch him. Just then the door in between starts transforming into an amalgam of tentacles and metal, resisting the heroes weapons and driving them away.Of course, the shots required a lot of rotoscoping to get any FX in between the actors and the walls. Too bad the camera seldomly ran long enough to get some decent different mattes.
The original concept of metal tentacles was soon discarded, as tentacles would have too long a reach, meaning the heroes couldn´t just stand there and talk. So, the second revision was a kind of "pink horror", a demon creature from the original game. The material blending effect was realized with a complex shader network combining several UV sets, but even the addition of an "etheral" pass á la final fantasy didn´t look too good and the blunt flat lighting made artificially lighting the set from either the horror or the bolter that blows it up all too convincing. Plus the door was seen from both sides and the volume-continuity looked wrong.
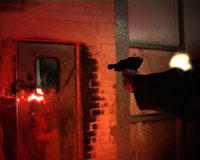
Thus as a third incarnation a more subversive, creeping infection-like effect was conceived as a mere 2D-quickfix. The biggest fun was the part in wich the gunslinger, Corris, pulls his las- and autopistols to fire at the door infested and blocked by the ruinous powers. Though his aim was badly off target and the door-demon changed several times the simple compositing and particle work was fun and made for a quick finish with little render time.
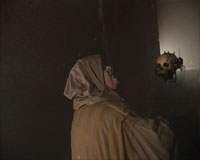
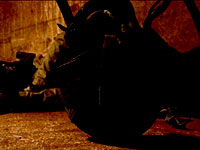
Scene 66: Maniac Osmar - Touch of the Tentacle
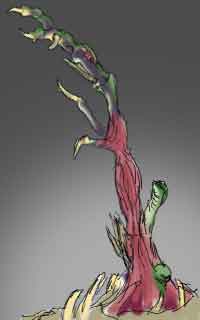 The
scene I did first was "scene066", a easy one-shot of a corpse with
tentacles growing out of it. After reading the script I expected a more complex
shot, with the actor collapsing in front of the camera, requiring tracking of
the face and replacing the popping eyeballs. But the movie was supposed to go
unrated, emphazising suspense over blunt gore. So, no burst ribcage like in
my sketch to the left. Only the corpse of our second hero casualty, Osmar. As
it was all mostly in the shadow and very dark, the main problem was to find
a gamma-booster that worked well with both the 3D application and video-playback.
Only with boosted brightness I realized there was a helmet wipping around in
the foreground, requiring some rotoscoping.
The
scene I did first was "scene066", a easy one-shot of a corpse with
tentacles growing out of it. After reading the script I expected a more complex
shot, with the actor collapsing in front of the camera, requiring tracking of
the face and replacing the popping eyeballs. But the movie was supposed to go
unrated, emphazising suspense over blunt gore. So, no burst ribcage like in
my sketch to the left. Only the corpse of our second hero casualty, Osmar. As
it was all mostly in the shadow and very dark, the main problem was to find
a gamma-booster that worked well with both the 3D application and video-playback.
Only with boosted brightness I realized there was a helmet wipping around in
the foreground, requiring some rotoscoping.
The tentacles were trivial: Polygon cylinders modelled into tentacles and applied with some 3D noise, a bump map and then deformed by curves. The wall and the floor of the set were reconstructed, as was a piece of the shoulder a tentacle creeps over, but because of the general darkness I forgot about final gathering or global illumination techniques. I just rendered a pass with multiple lights, one with just the primary light, two spec-passes (bumped and non-bumped) and assembled it in compositing. Looked lively enough.
Only when I did some other shots from "scene010" I realized it was all supposed to be 16:9 widescreen format. In that case, I figured, the shot would look like shit: The helmet in the middle of the frame would be cropped at top and bottom, too much of the frame would be black and unmoving. I like David Lean, I like wide shots, even in cramped space, so I retouched the image to widescreen, readjusted the 3D camera and did it all over again, as some tentacles were drawing shadows beyond the original PAL frame.
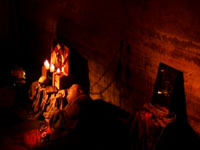
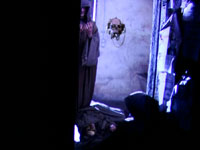
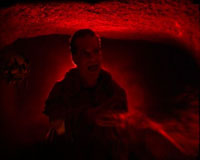
Scene 75: Souldrinker
Now, close to the finale, we can kill off another of the heroes. This time, the villain gets his entrance in the tunnels below the hive city. He uses his magical powers to pin Hiero to the wall and pull his lifeforce out while the Servoskull watches silently.
Of course, one camera was shaking, the other zoomed around and the dead actor did not stay on the floor too long. After that was solved by matchmoving and 2D stabilizing it was time to work on the actual psyker effect. Two particle clouds were rendered for each shot: one was emitted from the victim, the other from the psykers hand. These were mostly used as masks for other compositing layers. Due to the lighting and color filtering (the footage was all dabbed in red) it was difficult to get any other effect or add some color to the scene, so instead a swirl effect was used to distort the reality around the force.
The Skull was, as far as possible, realized as a simple loop. With the shots being over 1000 frames each and only little idea of the final editing, it was just so much easier to simply do a 90 frame loop for each shot. That´s 3 Gigs for other sequences. In one shot even the lighting of the skull was tweaked as an afterthought: The actor had a very distinct glowing edge, so the skull got his own by the simple addition of another colored plane.
The shaky scene was the most difficult. The composit where the elements were added had to be stabilized. This moved the image beyond the frame and thus had to be done on a much larger canvas. The actual composite layer was 50" larger than PAL, the select footage frames were masked and put into the background to fill in the blanks. It took two days alone to get the stabilizing quality right to yield a really stable image, the backdrop also had to be tweaked to adjust the brightness according to the actual footage.